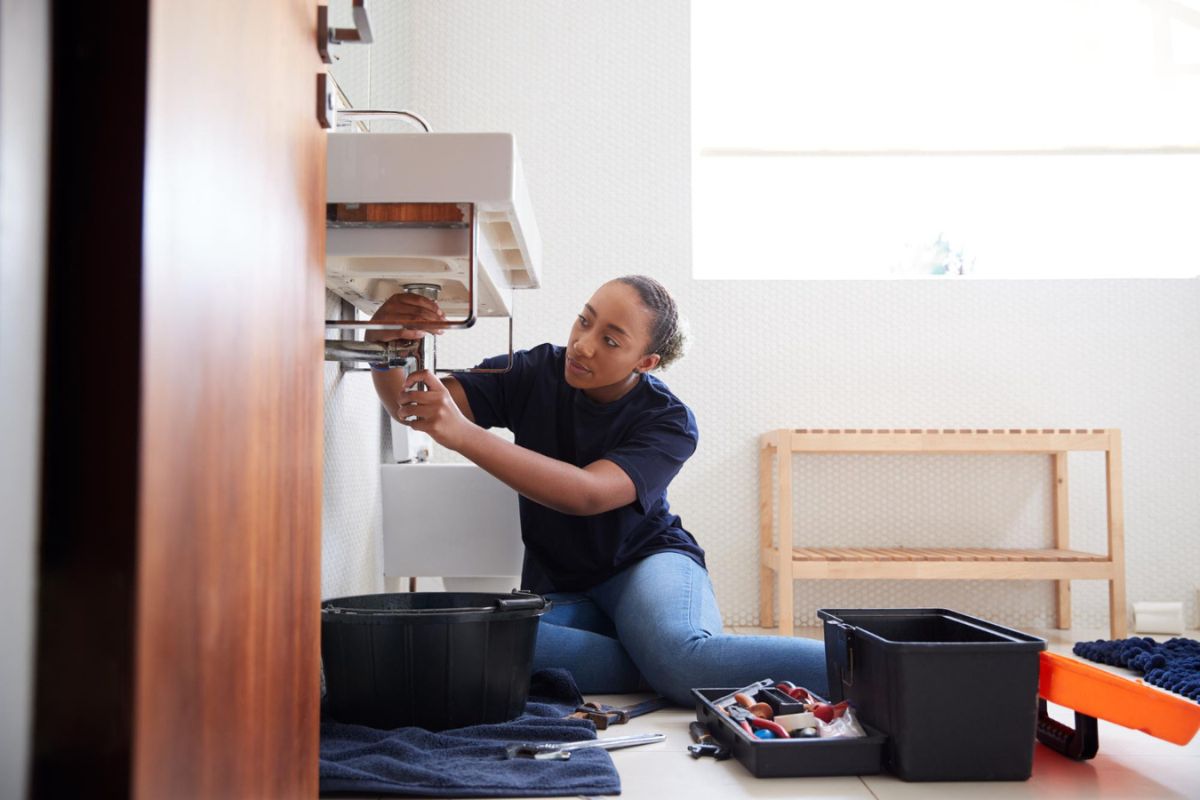
Home maintenance is an essential aspect of homeownership that empowers you to save both time and money. One of the most common and occasionally daunting aspects of maintaining a home is dealing with plumbing issues. From leaky faucets to running toilets, understanding the basics of plumbing repair can turn a potential headache into a straightforward fix.
In this blog post, we will walk you through the step-by-step process of resolving some of the most frequent plumbing issues that homeowners encounter. Rich with essential knowledge and practical DIY walkthroughs, our goal is to equip you with the confidence to tackle these projects on your own.
Essential Plumbing Tools Every Homeowner Should Have
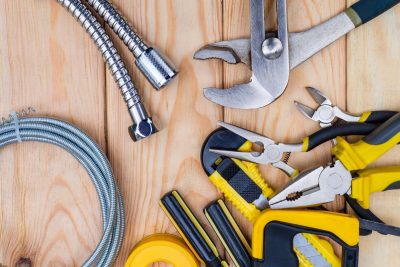
Before you can fix a leak or clear a clog, you need to ensure you have the right tools for the job. Here is a list of essential tools that should be in every homeowner’s arsenal:
- Adjustable wrench: This tool is essential for gripping and turning nuts or bolts in tight spaces.
- Pipe wrench: A heavier tool than the adjustable wrench, it is designed for gripping and turning threaded pipe and pipe fittings.
- Plunger: A simple yet effective tool for clearing clogs in sinks, toilets, and drains.
- Plumber’s tape: Used to seal pipe threads and prevent leaks on pipe joints.
- Pipe cutter: Essential for neatly cutting through copper or PVC pipes with precision.
- Plumber’s putty: Seals joints and prevents water leaks in sinks and drains.
- Auger or snake: A coiling device that can physically break through and retrieve clogged materials from drains.
Equipping yourself with these tools ensures you’re ready for whatever plumbing issue may arise in your household.
Common Plumbing Issues and How to Fix Them
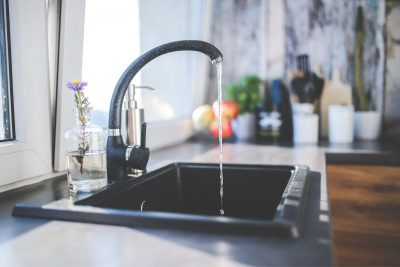
How to Fix a Leaky Faucet
A leaky faucet isn’t just a nuisance; it can cause your water bill to skyrocket if left untreated. Here’s how to fix it:
- Identify the type of faucet: This is an important first step as the fix for a compression faucet, for example, will differ from a cartridge or ball-type faucet.
- Shut off the water: You’ll generally find shutoff valves underneath the sink. Turn the valve to the right to close off the water supply.
- Disassemble the faucet: Use your adjustable wrench to remove the handle and other parts of the faucet, remembering their order for reassembly.
- Replace the necessary parts: Depending on the type of faucet, a corroded valve seat, worn-out washer, or o-ring may need replacing. Take the old parts to the hardware store to find exact replacements.
- Reassemble the faucet: Put all the parts back in the correct order, so the handle turns the proper way. Turn the water back on and check for leaks.
- Common mistakes to avoid: Over-tightening parts can lead to damage and future leaks. It’s also critical to ensure the replaceable parts are the correct size and type for your faucet.
Dealing with Clogged Drains
Clogs are a common occurrence in sinks, showers, and toilets. There are several methods to clear them, starting with the simplest:
- Use a plunger: For sinks or toilets, the plunger can force air or water pressure to dislodge the clog.
- Boiling water: This can be an effective way to clear grease or soap clogs in the kitchen or bathroom sink.
- Homemade solutions: A mixture of baking soda and vinegar can break down clogs. Skip the harsh chemicals by pouring a pot of boiling water down the drain.
- Manual clearing: For stubborn clogs, use a drain snake or auger to physically break apart the blockage. Follow the manufacturer’s instructions for the best results.
- Preventing future clogs: In the kitchen, avoid dumping oil down the drain, and in the bathroom, use a drain cover to catch hair and debris.
Repairing Running Toilets
A running toilet not only wastes water but can lead to a hefty increase in your water bill. The flapper, fill valve, or float may be the culprits and can be repaired as follows:
- Identify the issue: Remove the tank lid and observe the parts as you flush the toilet. Look for any parts that don’t return to their original position.
- Adjust the floater arm: If the water doesn’t stop running, try bending the floater arm slightly downward to reduce the water level in the tank.
- Check the flapper: If the water is constantly running into the toilet, the flapper may need replacement. It’s a rubber stopper at the bottom of the tank that controls the flush.
- Examine the fill valve and float: If the water level is too low, the fill valve may require adjusting or replacement.
- Reassemble the tank: Ensure all the parts are back in their correct positions and secure the tank lid. Check for leaks and test the toilet by flushing multiple times.
Understanding Water Heater Issues
Water heater issues can be menacing but often have straightforward solutions. Before you begin, always turn off the power or gas supply to the water heater.
- No hot water: For an electric heater, check the breaker box to ensure the water heater’s circuit hasn’t tripped. If it has, reset it. For a gas heater, ensure the pilot light is lit.
- Water not hot enough: Adjust the temperature settings on the unit, but do so with caution. The tank’s setting should not exceed 120°F to prevent scalding.
- Water leaks: If water is pooling around the base of the heater, it could be a leaking valve or pressure relief valve. Open the valve to release any excess water and check for damage.
- Sediment buildup: If the water heater is making popping or cracking noises, there’s likely sediment in the tank. Flushing the tank annually can resolve this issue.
- Anode rod inspection: This component prevents the tank from rusting. If the rod is heavily corroded, it may need replacement.
- Tank replacement: For major leaks or extensive corrosion, it may be time for a new water heater.
Always approach water heater repair with caution due to the risks of hot water and gas. If in doubt, it’s best to consult a professional plumber.
The ability to address these common plumbing issues with a touch of DIY enthusiasm is a rewarding part of homeownership. It not only saves you money but also grants a deeper understanding and connection with your home’s infrastructure. However, it’s also crucial to recognize your limitations. If a problem seems too complex or involves gas lines, always defer to a professional plumber.
Remember, regular maintenance and swift repairs can often prevent larger, more expensive issues down the line. We encourage you to take the first step and begin familiarizing yourself with your plumbing setup. And always keep in mind the safety of your household and yourself when engaging in any maintenance task.
How have your own plumbing adventures panned out? We’d love to hear your stories and any additional tips you may have. Welcome your fellow homeowners into the conversation and share your wealth of knowledge with the community.